安装方法
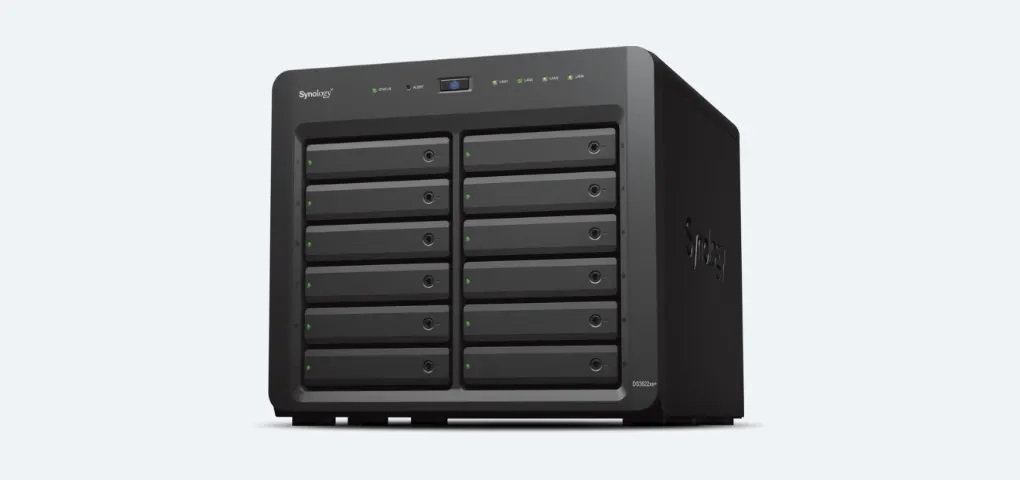
1.选择自己所需型号(DS918+ 兼容性不太好,需酷睿四代以上的CPU支持,且有四块硬盘限制, 推荐 DS3622xs,兼容性更好),上传相应的 XXX7.1.1.vmdk 和 XXX7.1.1-flat.vmdk 两个文件到ESXi服务器存储卷。
2.创建虚拟机,客户机操作系统系列选择Linux, 客户机操作系统版本:其他4.xliunx(64位),根据需要配置CPU和内存,然后删除 SCSI控制器,硬盘和CD/DVD驱动器。
3.添加现有硬盘,选择上传的VMDK引导盘文件,另外根据个人具体情况添加存储硬盘,注意若使用直通需硬件支持。
4.配置虚拟机选项,引导选项,用来引导虚拟机的固件:BIOS,保存。
5.修改ESXi的“标准虚拟交换机”的安全选项,三项的默认“拒绝”全部修改成”接受”。
6.启动虚拟机,使用群辉助手搜索群辉设备,注意断开外网,开始安装系统,系统文件需使用对应的版本 DSM_DSXXX_42951.pat,直至完成。
附 DS918+ 和 DS3622xs 的虚拟磁盘和系统文件打包下载
链接:https://pan.baidu.com/s/1kB9SM3lImG2w24VSvEkk5A?pwd=8848
提取码:8848
Enjoy it!

High Efficiency Video Coding 也叫 H.265,可以安装“来自设备制造商的 HEVC 视频扩展”进行解码。
食用方法
在浏览器地址栏打开:
ms-windows-store://pdp/?ProductId=9n4wgh0z6vhq
提示跳转到 Microsoft Store 可免费下载安装 HEVC 视频官方扩展,此版本可自动在线升级。
Ubuntu 安装svn:
apt-get install subversion

1.开启 TFTPD64,设置本地IP为 192.168.33.X
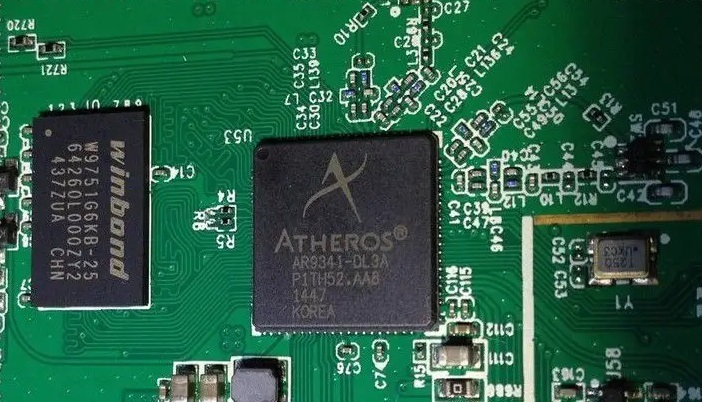
2.在 https://breed.hackpascal.net/EOL/ 下载 uboot: breed-ar9341-pisen-wmp002n-r1163.bin
3.TTL连接设备,执行:
tftpboot 0x80060000 breed-ar9341-pisen-wmp002n-r1163.bin
erase 0x9f000000 +0x200000
cp.b 0x80060000 0x9f000000 0x200000
4.刷完uboot后重启,进入Breed备份Art,在固件更新菜单备份art.bin (art 是路由器的无线矫正参数,里面也包含mac等信息)
5.刷入新DIY固件
6.按复位键重新上电进入breed,刷回art,刷入art.bin,输入真实MAC地址
7.重启

食用方法
1.HASS Docker 中进入 shell 执行:
cd /usr/local/lib/python3.9/site-packages/hass_frontend/static
git clone https://github.com/james-fry/home-assistant-mdi
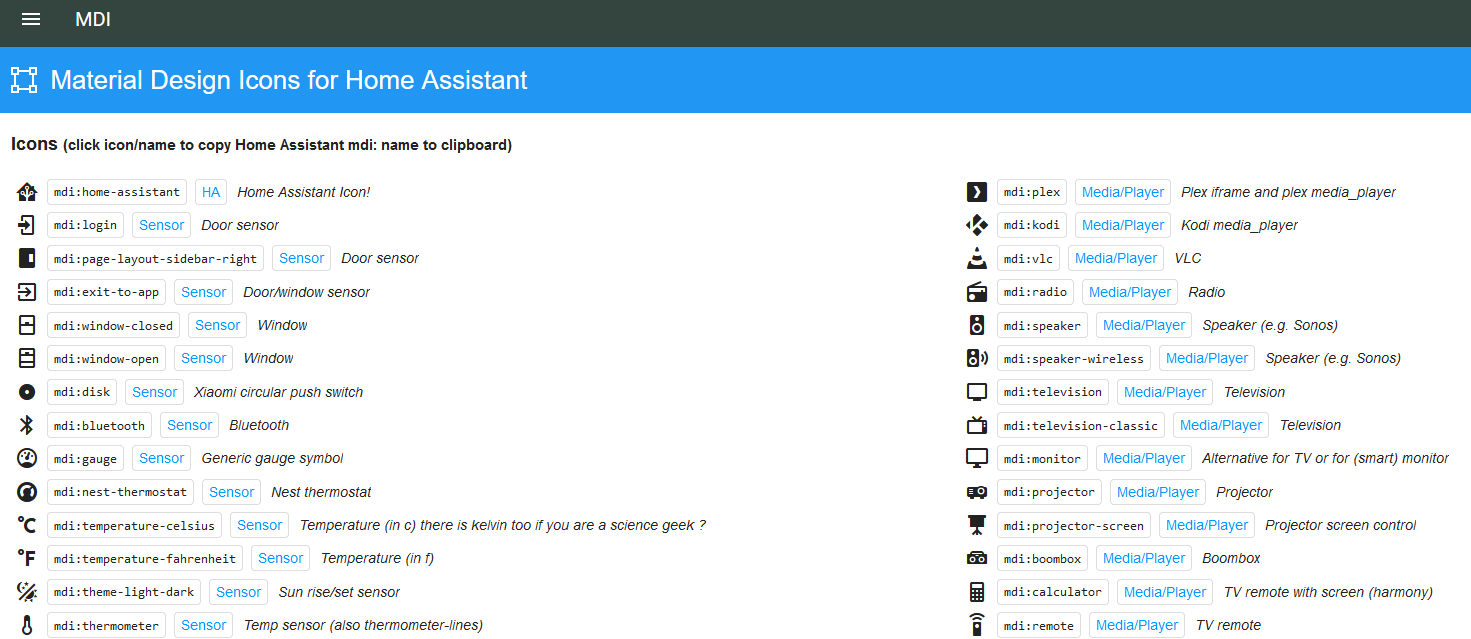
2.在 HomeAssistant 的 configuration.xml 文件中添加代码 ,配置需要的 MDI icon 图标:
panel_iframe:
  mdiindex:
    title: MDI
    icon: mdi:vector-square
    url: http://10.10.22.22:8123/static/home-assistant-mdi/home-assistant-mdi.html
3.重启容器。

缘起
朋友说新主板 BIOS 使用 changelogo5 无法修改 logo,我试了一下,确实,于是就花时间自己琢磨了一通,摸索出了一个简单办法。
工具
UEFITool
食用
1.运行 UEFITool,打开 File,Open image file
2.查找字串
8C8CE578-XXXXXX-XXXXXX
05CA020B-0FC1-XXXXXX
8C8CE578-8A3D-XXXXXX
7BB28B99-61BB-XXXXXX
EE4E5898-3914-XXXXXX
3.右键 Raw section,选择 Extract body,保存为 xxxx.raw
4.将 xxxx.raw 改名为 xxxx.raw.bmp,使用PS修改图片后,再改回原名 xxxx.raw
5.再次右键 Raw section,选择 Replace body,选择 xxxx.raw
6.Save image file 为 xxxx.rom
7.使用技嘉的 Qflash 将 xxxx.rom 刷入主板
附工具和彩云下载链接
https://caiyun.139.com/m/i?0m5CLoFSyYwbn
提取码
spbG