Meta 的 Llama3 大语言模型开源以后,Ollama做了整合3B版本,可以很方便的部署使用,7B就算了,实在用不起。
0x00 硬件要求
GPU 最好使用 NVIDIA RTX4060 以上级别的显卡,响应速度流畅。
CPU Intel 12代以上,纯 CPU 模式响应度很慢。
0x01 官方支持
https://ollama.com/
https://hub.docker.com/r/ollama/ollama
0x11 部署服务
CPU 模式
docker run -d -v ollama:/root/.ollama -p 11434:11434 --name ollama ollama/ollama
GPU 模式
Nvidia GPU 需安装 NVIDIA Container Toolkit:
curl -fsSL https://nvidia.github.io/libnvidia-container/gpgkey \
    | sudo gpg --dearmor -o /usr/share/keyrings/nvidia-container-toolkit-keyring.gpg
curl -s -L https://nvidia.github.io/libnvidia-container/stable/deb/nvidia-container-toolkit.list \
    | sed 's#deb https://#deb [signed-by=/usr/share/keyrings/nvidia-container-toolkit-keyring.gpg] https://#g' \
    | sudo tee /etc/apt/sources.list.d/nvidia-container-toolkit.list

sudo apt-get update
安装 NVIDIA Container Toolkit packages:
sudo apt-get install -y nvidia-container-toolkit
Yum 或 Dnf 安装:
curl -s -L https://nvidia.github.io/libnvidia-container/stable/rpm/nvidia-container-toolkit.repo \
    | sudo tee /etc/yum.repos.d/nvidia-container-toolkit.repo
安装 NVIDIA Container Toolkit packages:
sudo yum install -y nvidia-container-toolkit
配置 Docker 使用 Nvidia driver:
sudo nvidia-ctk runtime configure --runtime=docker
sudo systemctl restart docker
启动容器:
docker run -d --gpus=all -v ollama:/root/.ollama -p 11434:11434 --name ollama ollama/ollama
AMD GPU 安装:
docker run -d --device /dev/kfd --device /dev/dri -v ollama:/root/.ollama -p 11434:11434 --name ollama ollama/ollama:rocm
0x12 安装 API
docker exec -it ollama ollama run llama3
0x13 部署 WEB UI
CPU 模式:
docker run -d -p 8090:8080 --add-host=host.docker.internal:host-gateway -v open-webui:/app/backend/data --name open-webui --restart always ghcr.io/open-webui/open-webui:main
GPU 模式:
docker run -d -p 8090:8080 --gpus=all -v ollama:/root/.ollama -v open-webui:/app/backend/data --name open-webui --restart always ghcr.io/open-webui/open-webui:ollama
0x14 登录 WEB
http://IP:8090
去年起,巨硬家开始严查D版 Office 软件,以促进 Office365 订阅,很多用户都被弹窗无法正常使用,那么如果只是使用 Word,Excel,PowerPoint 这些基本功能,不需要做宏编辑等高级功能,不想花钱订阅新版 Office365,或者去改用 LibreOffice 一类的免费软件,有合法使用的方法吗?其实微软有个旧版本仍然一直可以使用,就是 Office Starter 2010。
食用方法:
1.安装 consumerc2rolw:
简体中文版 setupconsumerc2rolw-zh-cn.exe
繁体中文版 setupconsumerc2rolw-zh-tw.exe
英文版     setupconsumerc2rolw-en-us.exe
2.双击运行安装补丁 click2run2010-kb2598285:
click2run-x-none_f74703316deaa94b7b7e72bfcf7bd718910e26a4.cab
3.运行程序即可。
附下载地址:
链接:
https://pan.baidu.com/s/1OSOGOcOBqgVs7NjGwCmA1Q?pwd=8848
提取码:
8848


SSH to Linux
CoreMark 跑分
/etc/coremark.sh && cat /etc/bench.log
CPU 信息
lscpu
cat /proc/cpuinfo
CPU研发代号
gcc -march=native -Q --help=target|grep march
系统负载情况
cat /proc/loadavg
查看磁盘内容
cat /proc/mounts
查看内存
cat /proc/meminfo
free -h
网卡大包测试
ping 10.10.10.10 -l 1000 -t

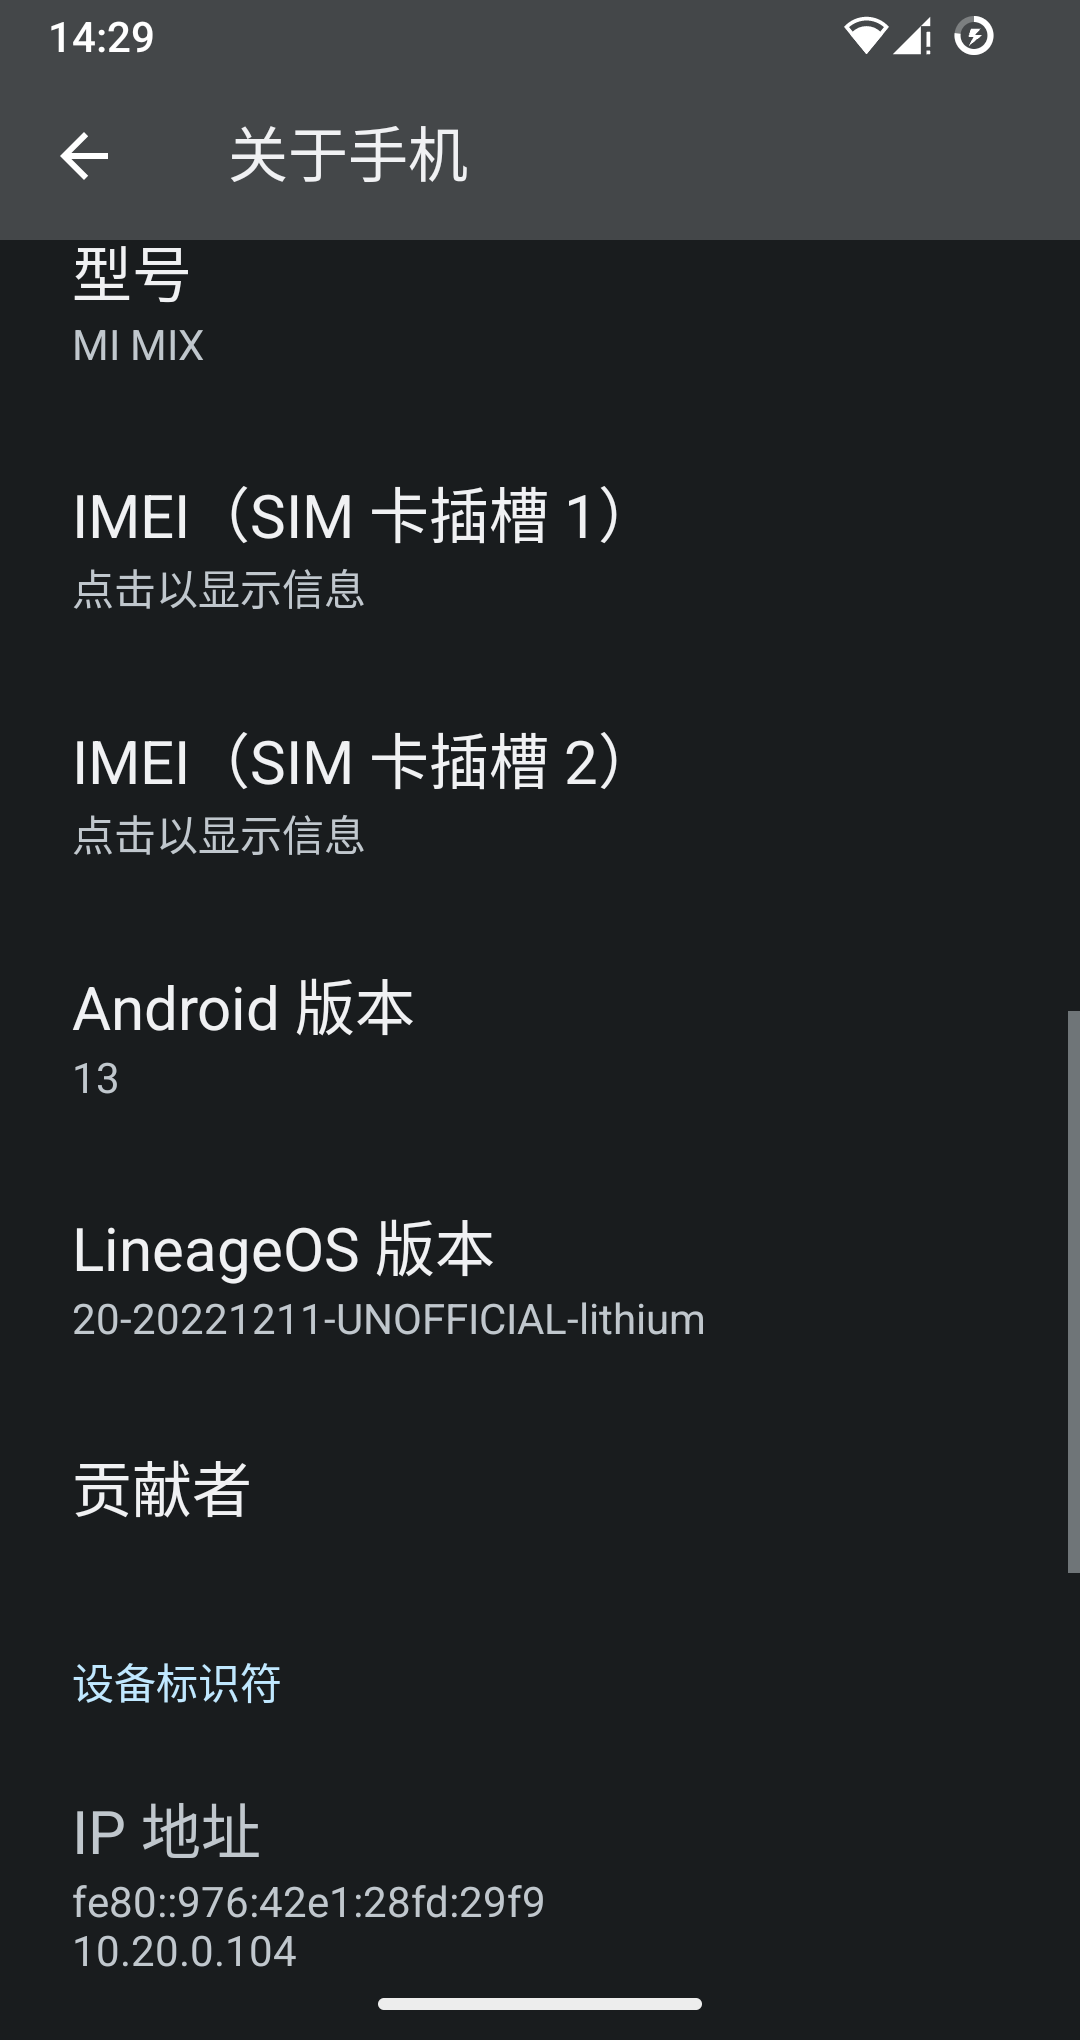
MI MIX 最后升级的系统是 Android8.0,XDA 上有爱好者基于 LineageOS 修改的第三方 Android13 系统,但升级方法比较混乱,我试错多次后,总结了如下便捷方式:
1.下载 miflash_unlock,将手机解锁 bootlock,具体方法在小米官网支持。
2.开启手机开发者模式,开启 USB调试。
3.下载 platform-tools,在文件夹中运行系统终端,运行:
./adb reboot bootloader
./fastboot devices
./fastboot flash recovery lithium-twrp-3.5.2-fbe.img
写入第三方 Recovery 后,重启。
4.按住音量+键和电源键开机,直到进入 Recovery 松开。
5.格式化DATA,在高级选项里选择 Apply from ADB,开始 sidload。
6.运行如下命令:
./adb sideload lineage-20.0-20221211-UNOFFICIAL-lithium.zip
如需 GAPPS 服务,再次进入 sidload 运行如下命令:
./adb sideload MindTheGapps-13.0.0-arm64-20230920_071434.zip
8.重启手机,开始配置,如果刷了 GAPPS,需要科学上网。
刷机资料下载地址:
链接:https://pan.baidu.com/s/1k4HclQtFkGlUlBrQQPkj3Q?pwd=8848
提取码:8848

忘记 Windows 登录密码或 PIN 后,需要重置密码,可以尝试以下方式。
本地账户密码
1.使用PE启动盘,运行账号密码修改工具。
2.如果是 Windows10 或 Windows11 系统:
按住shift键并重启电脑,在恢复模式中选择【疑难解答】-【高级选项】-【命令提示符】,输入替换命令
copy c:\windows\system32\utilman.exe c:\windows\system32\utilman-bak.exe
copy c:\windows\system32\cmd.exe c:\windows\system32\utilman.exe
重启,在登录界面点击右下角辅助功能,打开 CMD,输入
net localgroup administrators
找到需要修改的账号 XXXXXX,然后执行
net user XXXXXX *
修改密码,然后重启登录。
微软账户PIN
方法1
按住shift键并重启电脑,在恢复模式中选择【疑难解答】-【高级选项】-【命令提示符】,Loading ,选择账户 ,输入密码 ,进入命令提示符执行
copy c:\windows\system32\utilman.exe c:\windows\system32\utilman-bak.exe
copy c:\windows\system32\cmd.exe c:\windows\system32\utilman.exe
重启后点击右下角辅助功能【轻松使用】 按钮进入命令提示符。
输入 msconfig,打开【系统配置】,将启动选择改为正常启动,重启就可以正常输入PIN进入系统了。
方法2
按住shift键并重启电脑,在恢复模式中选择【疑难解答】-【高级选项】-【命令提示符】,输入替换命令
copy c:\windows\system32\utilman.exe c:\windows\system32\utilman-bak.exe
copy c:\windows\system32\cmd.exe c:\windows\system32\utilman.exe
重启,在登录界面点击右下角辅助功能,输入打开注册表命令 regedit,修改
\HKEY_LOCAL_MACHINE\SOFTWARE\Microsoft\Windows NT\CurrentVersion\PasswordLess\Device
里的
DevicePasswordLessBuildVersion
将值改为 0,重启后输入正确的微软账号密码就能登陆了。
Good Luck!